Hydration Bladder Cleaning Guide
Keep your hydration system fresh and clean with these simple steps
STEP 1 – Unpack & Separate Parts
- Empty your hydration bladder.
- Remove the hose from the bladder.
- Detach the mouthpiece/bite valve.
- Open the bladder fully.

STEP 2 – Rinse Everything
- Rinse the bladder, hose, and mouthpiece with warm water.
- Tip out any remaining water.
STEP 3 – Clean Inside the Bladder
- Add warm water and a few drops of mild soap (or cleaning tablet) to the bladder.
- Use the bladder brush to scrub all inside surfaces.
- Pay attention to corners and seams.
- Rinse thoroughly with clean water.
STEP 4 – Clean the Drinking Hose
- Run warm soapy water through the hose.
- Feed the long flexible hose brush into one end of the hose.
- Push and pull the brush all the way through the tube.
- Rinse the hose with clean water.
- Pinch the bite valve to release excess water

STEP 5 – Clean the Mouthpiece / Bite Valve
- Use the mouthpiece brush to scrub inside the bite valve and fittings.
- Rinse well to remove all soap.

STEP 6 – Final Rinse
- Rinse bladder, hose, and mouthpiece again with clean water.
- Make sure no foam or bubbles remain.

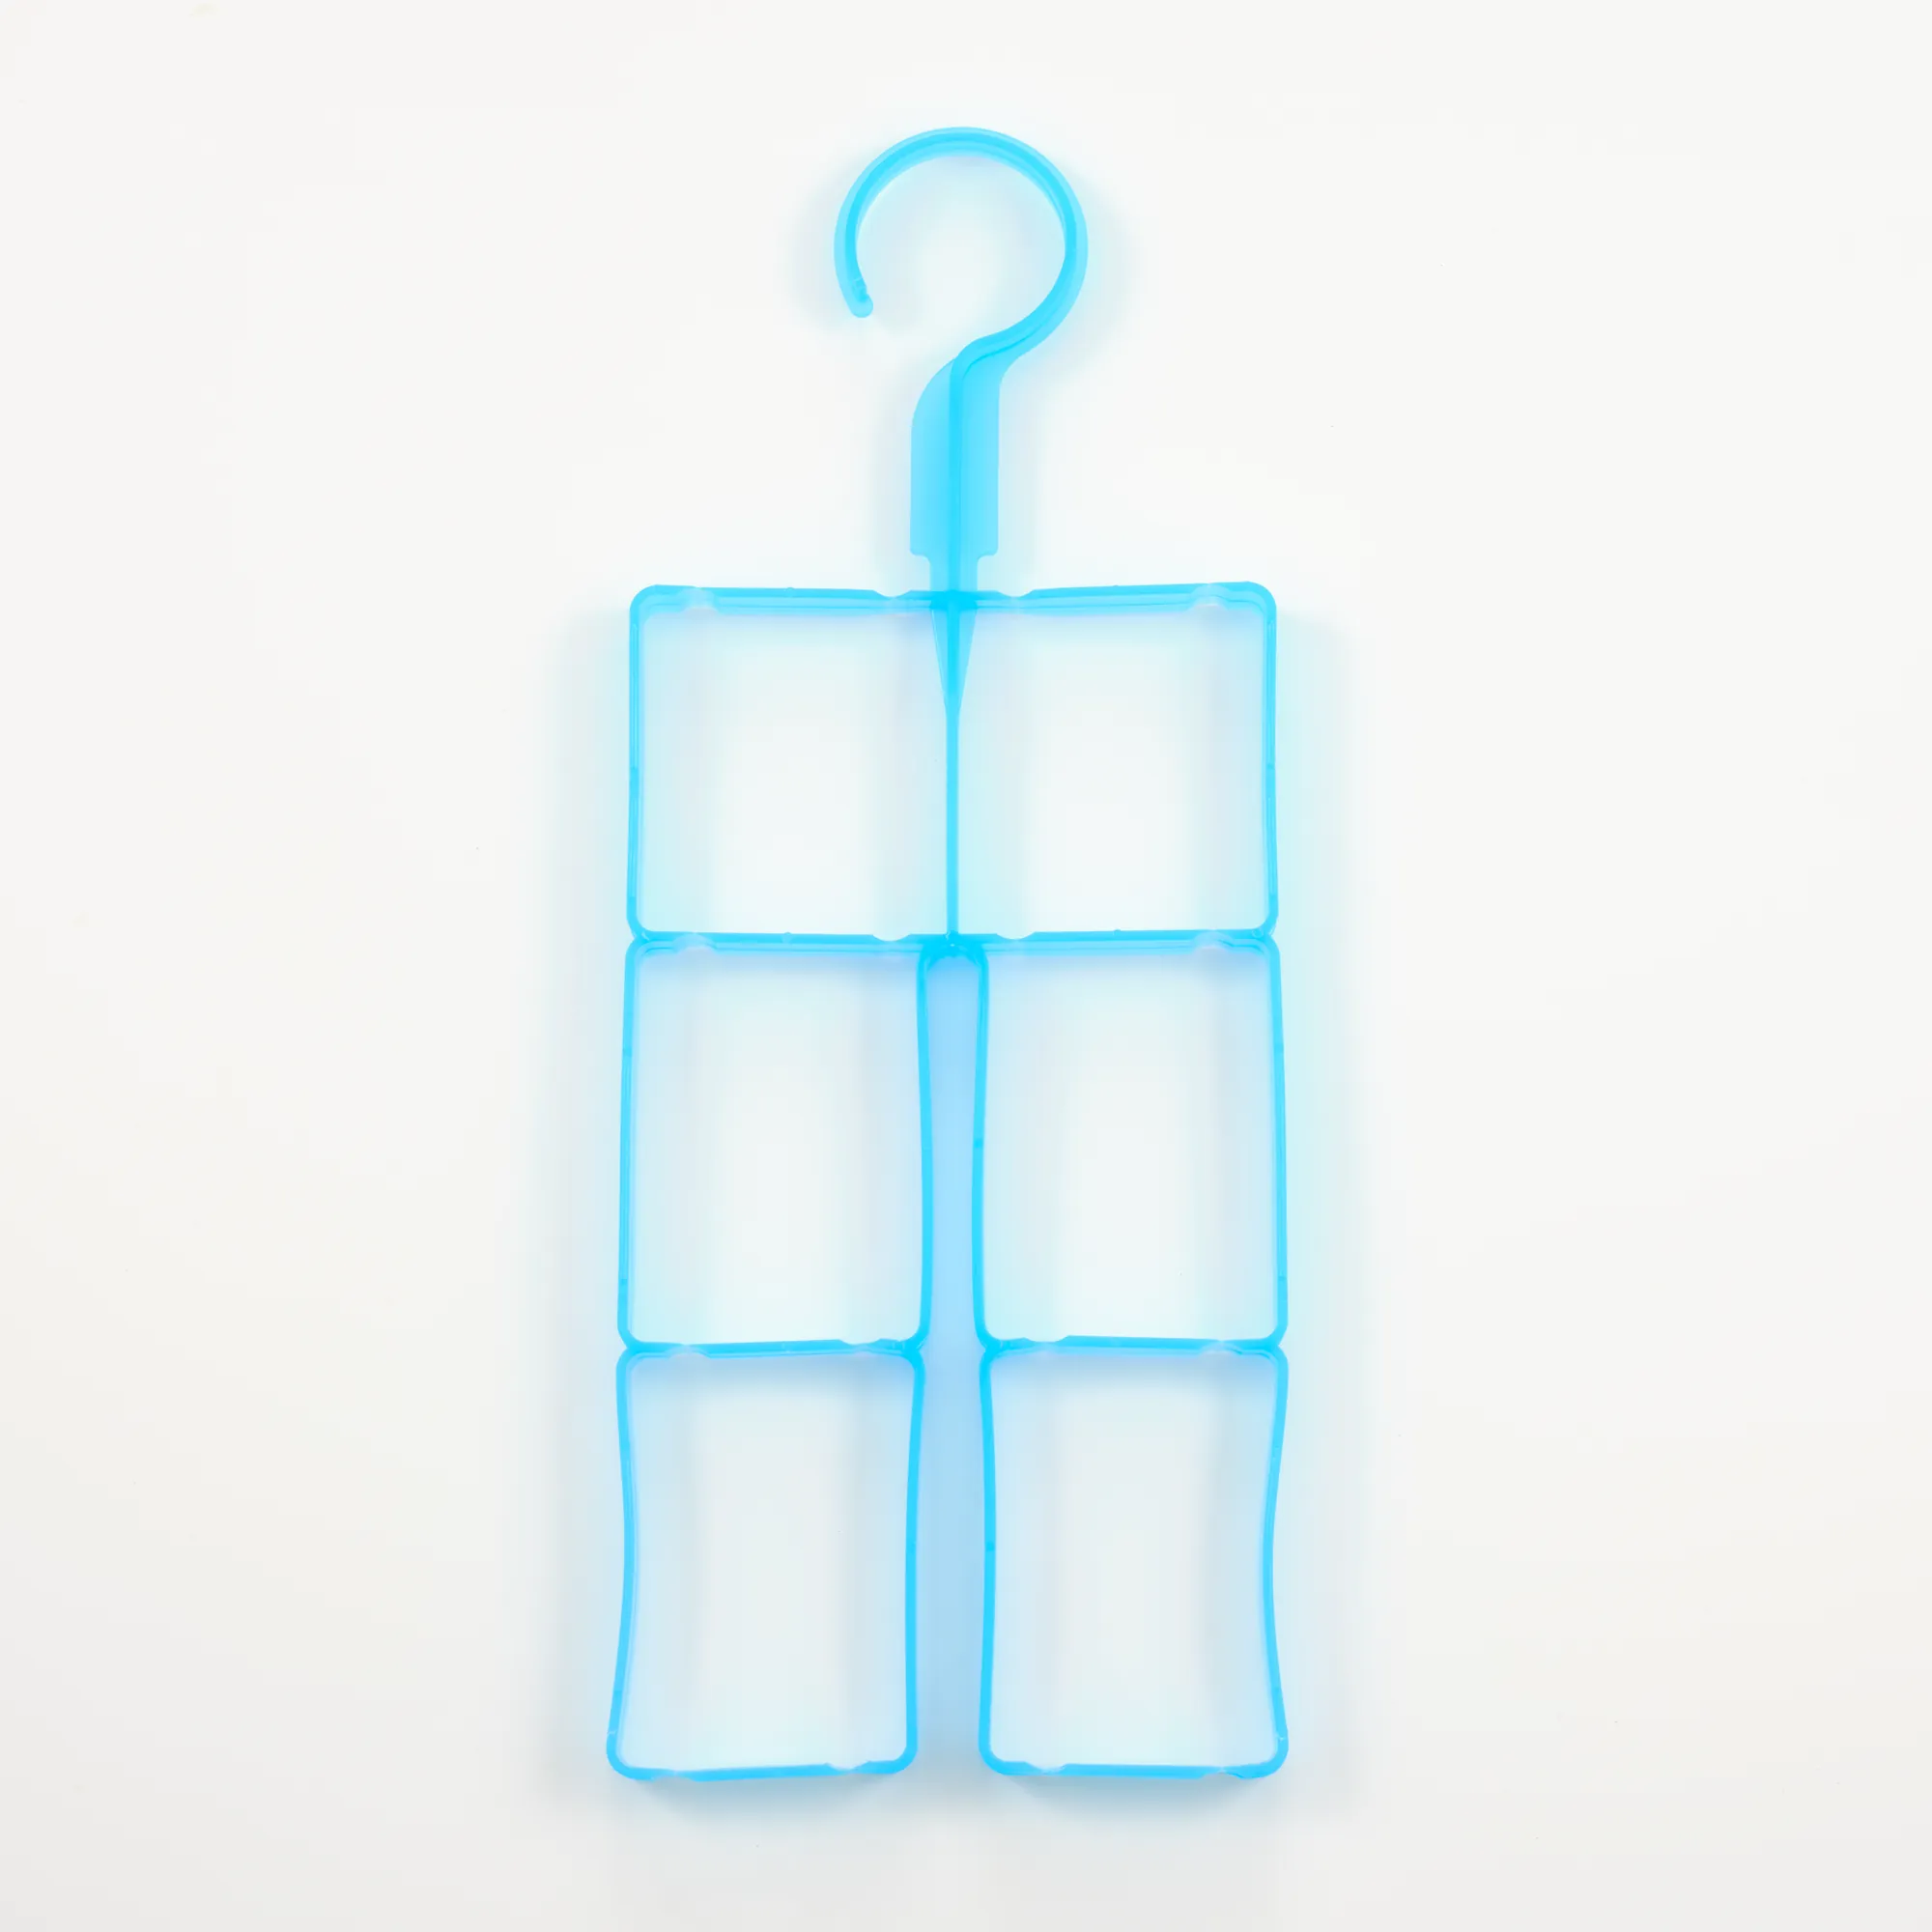
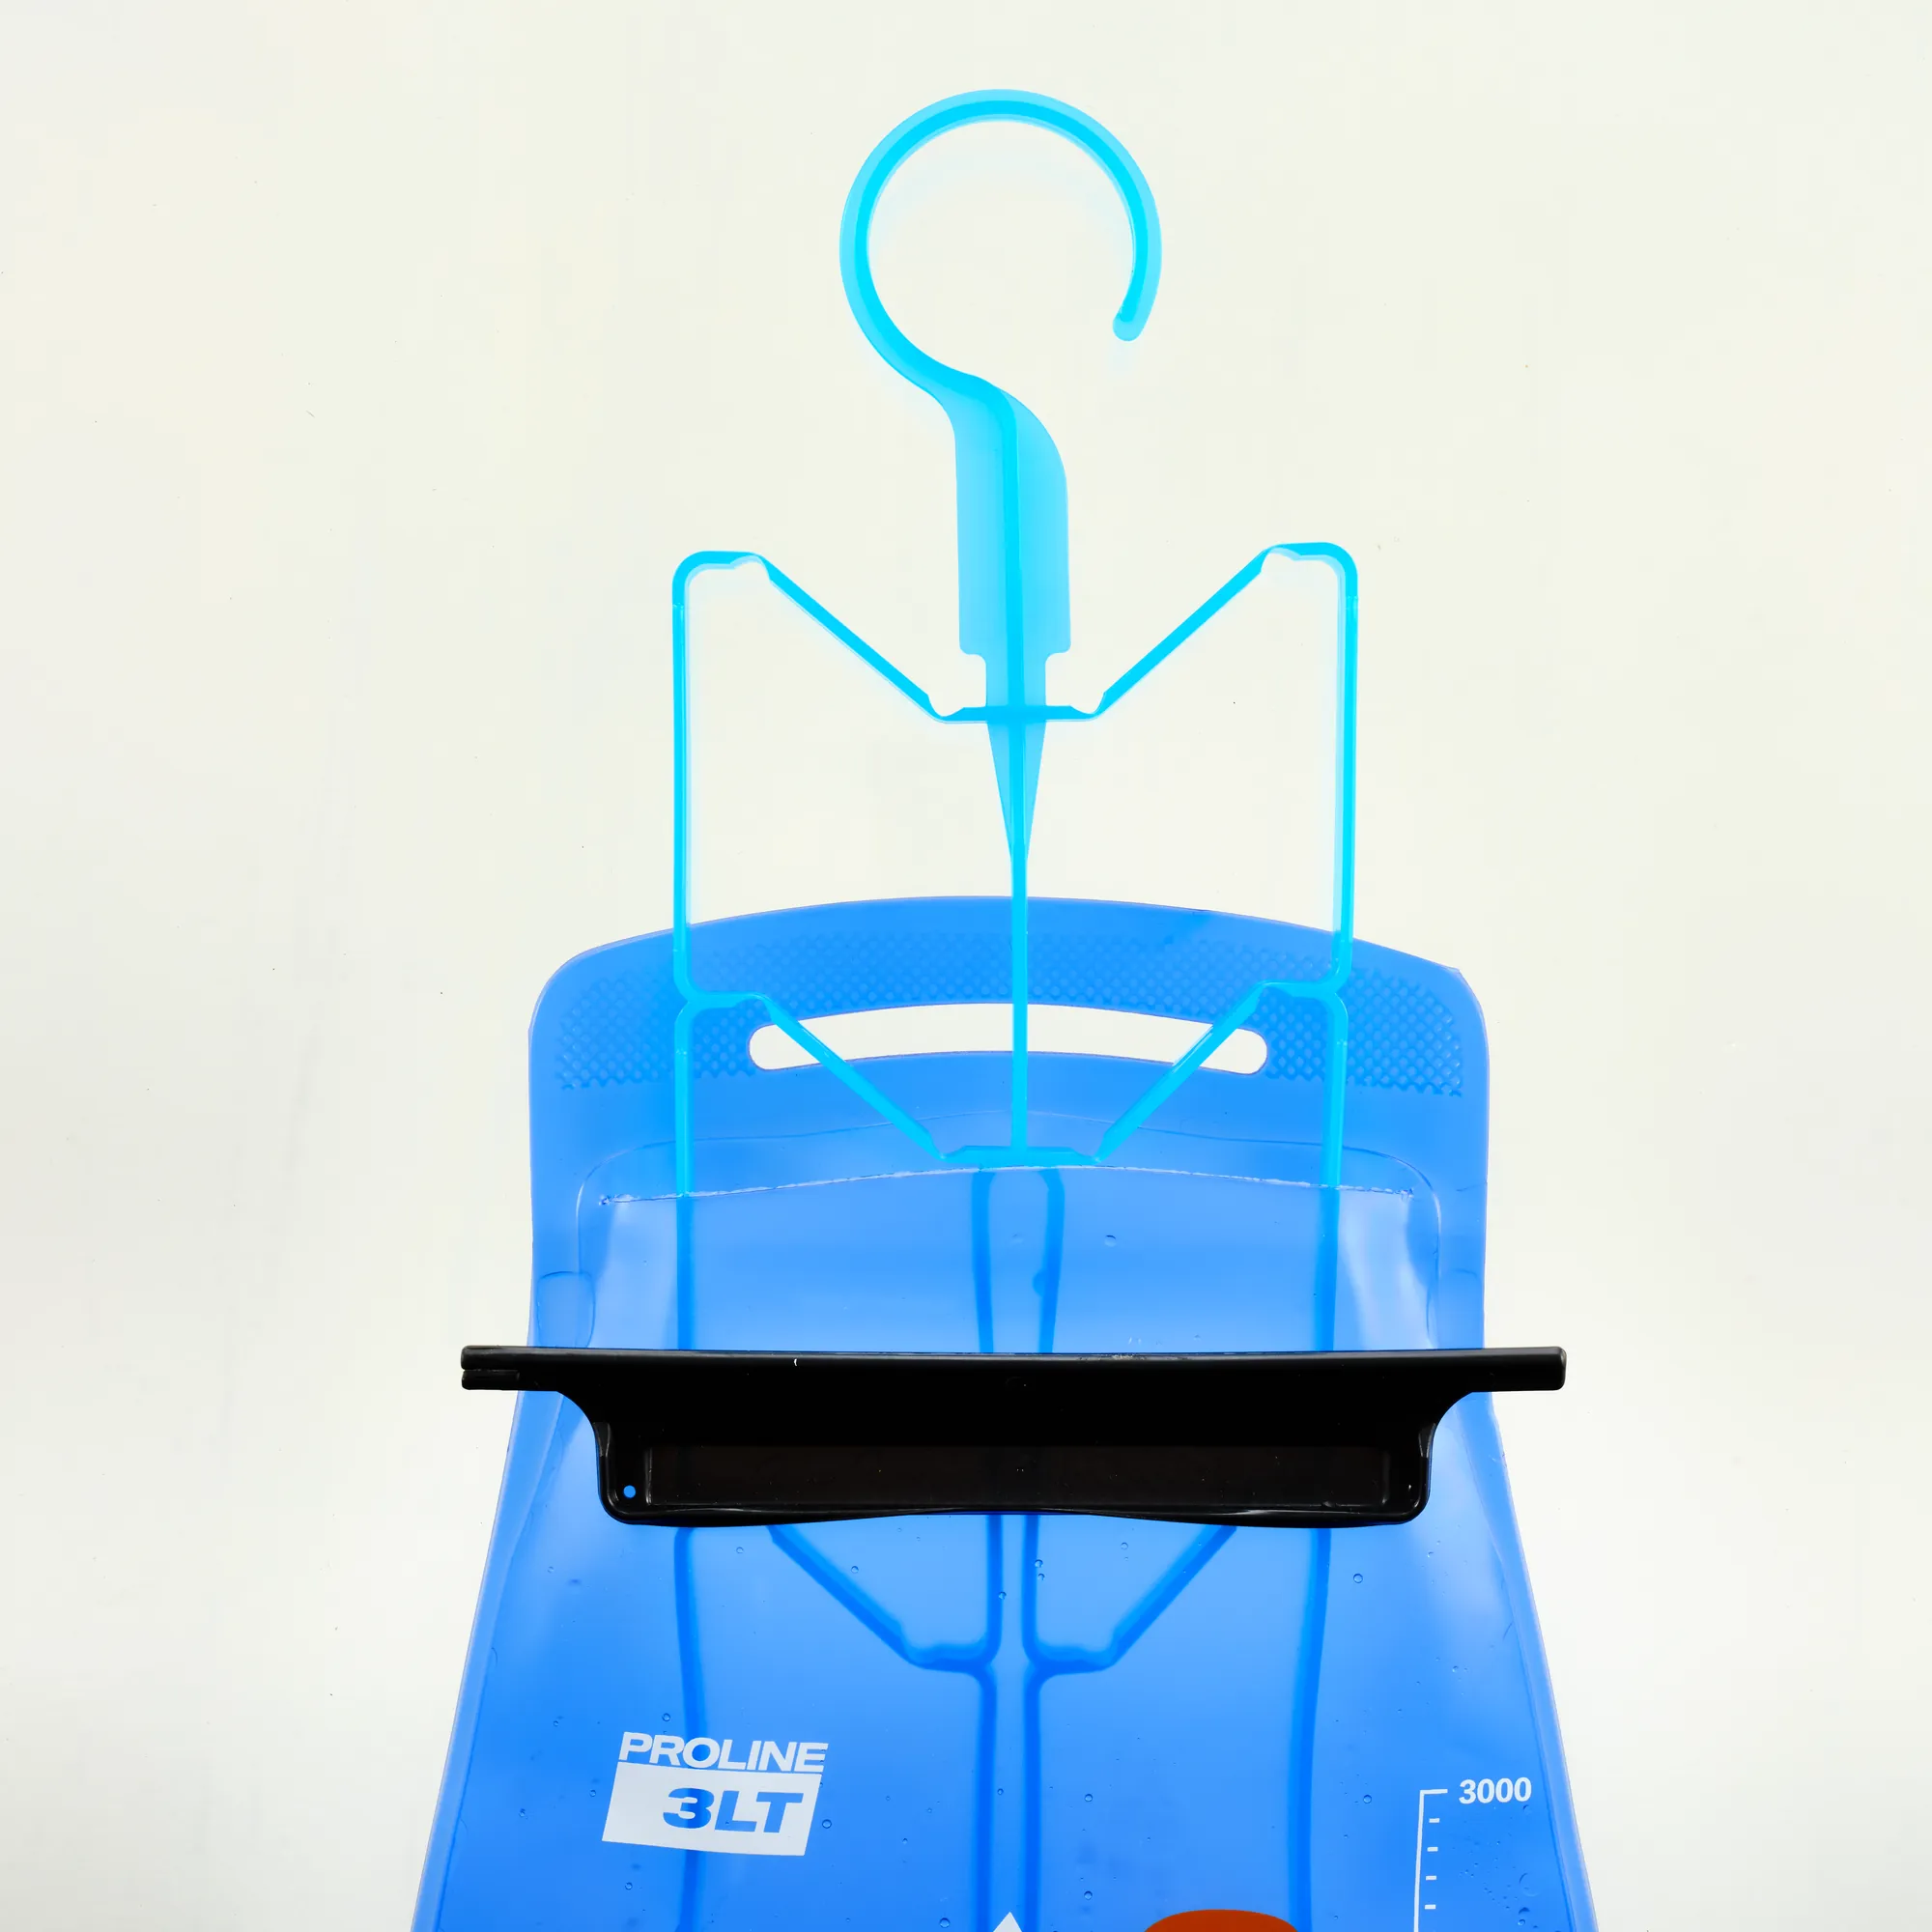
STEP 7 – Hang to Dry
- Hang the bladder on the drying hanger.
- Spread the opening so air can get inside.
- Hang or drape the hose so water can drain out.
- Allow everything to dry completely.
STEP 8 – Reassemble & Store
- Reattach the hose and mouthpiece once fully dry.
- Store the bladder slightly open in a cool, dry place.
